
Thinking of removing and replacing your windshield by yourself? Windshield replacement can be a difficult task if you’ve never been professionally trained. You might possibly crack the new windshield or even worse, not install it correctly causing structural failure during a crash.
Remove Trim
Remove any trim that may be around the windshield. While a professional may get away without removing interior trim such as A-pillar, a lot of people prefer to remove it. So, if you feel more comfortable removing the trim, please do so. Carefully remove any clips, fasteners, and retainers. Avoid breaking or losing them because they usually can be re-used in the future.
Remove Old Windshield Glass
Cut out the old windshield using a windshield removal tool. You can also remove a windshield with guitar string or stiff thin wire. The easiest and cheapest way to remove the windshield is to use an 18″ Urethane Cut-Out Knife, which is typically used by professionals. Cut the urethane around all of the perimeters of the windscreen. As you cut out the windshield, be careful to minimize damage to the pinch weld.
Removing Old Urethane
Use a heavy-duty glass scraper blade to remove the old urethane. It is important to then clean any dirt or debris left on the frame so that the surface remains clean. Cleaning can be done by using a cloth with warm water. There should be no dirt or debris where the urethane is applied, as this can cause more problems with windshield replacement.
Prime The Pinch Weld
As you cut out the urethane, you probably made some scratches. Apply urethane primer to the perimeter of the windshield, inside edge, and also in the window channel. The primer can help the urethane glue better and act as a rust prohibiter when applied to the window channel, especially if there are any scratches.
It’s important to remember that even an auto glass professional can’t avoid making a few scratches to the pinch weld. Don’t let this discourage you. Always use urethane primer to ensure that rust doesn’t develop. If there is rust in this area you may want to sand it down, then prime it. After you apply the primer, wait a few minutes before you apply the urethane bead.
Apply a Bead of Urethane
Start by removing the bottom cap from the urethane cartridge then install it on your caulk gun. Carefully lay the bead of urethane. Try to keep the bead of urethane as one continues the line. Avoid stops and move your hand at a constant speed. If you miss any spots or the bead is too thin, just come back later.
Some windshields may have small plastic clips around the frame. There are different clip designs but they are all installed in similar ways. The clips are there to help align the windshield. If you need to replace the clips, just slide and lock them into place.
If there are any spots where the urethane bead is not continuous, add some more urethane or use a small spatula to fix the urethane. It is important that the urethane bead is constant or else problems may occur later on.
Be careful to not let any urethane fall on your car’s paint as this may cause even further damage. Removing the urethane from the paint can cause scratching. However, if it does occur, use paper towels and rubbing alcohol to try and remove it.
Installing The New Windshield
Next, install the new windshield. Since you are installing the windshield yourself, we would recommend that you get a second person to help you with this step. If you are planning on installing the windshield by yourself, it is recommended that you use heavy-duty suction cups to handle the windshield replacement. Make sure to use rubber gloves so that you don’t contaminate the windshield glass or get any grease on the windshield. Place the windshield on the car and push it with the palm of your hand all around the windshield glue line.
Once you apply the urethane to the car, don’t wait too long to install the windshield. The sooner you install the windshield, the better. Once you place the windshield in the car, it is ok to shift it to properly position the windshield but keep the moving of the windshield to a minimum. It takes several hours for the urethane to cure.
Here is a great windshield removal tool to assist in your windshield replacement.
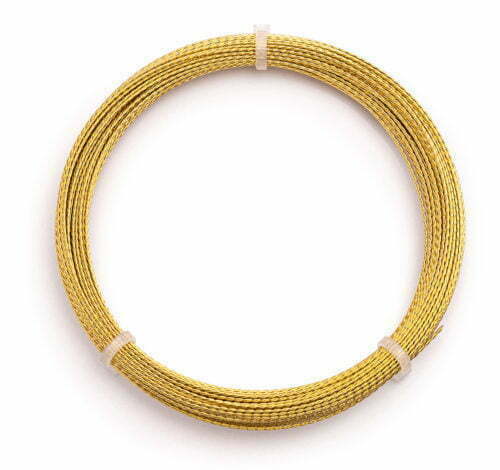
JTAPE Braided Windshield Removal Wire
JTAPE Braided Windshield Removal Wire is a great tool to help in your windshield replacement. It is designed for removing your windshield. It has been manufactured to the highest quality and is specially designed to cut through urethane bonding. It is composed of three super-strong brass plated steel wires braided together to form one wire.
0.7mm wide by 22.5m length
See your local jobber for pricing.